
Adresse
1 rue de Saint-Petersbourg75008 Paris
Mail
contact@bam.techTéléphone
+33 (0)1 53 24 00 83Have you recently switched to a new Mac only to realize that you lost all your meticulously customized settings and configurations? As a developer, this can be a major setback, but fear not, there is a solution! In this article, we will explore how to efficiently set up a new Mac for development by synchronizing essential files known as dotfiles and leveraging the power of a GitHub repository. Additionally, we'll delve into the convenient world of macOS preferences synchronization, which allows you to quickly restore your previous settings. Say goodbye to the time-consuming process of manually configuring your new Mac and say hello to a seamless and hassle-free setup.
When transitioning to a new Mac, one of the most frustrating aspects is losing your carefully crafted development environment. But did you know that you can store and synchronize your dotfiles in a GitHub repository? By doing so, you can easily access and download your configuration files, including the ++code>.zshrc++/code>, ++code>.gitconfig++/code>, and aliases files, directly onto your new machine. No more starting from scratch or tediously hunting down specific settings. With a few simple steps, you can have your development environment up and running in no time.
But it doesn't stop there. We'll also explore the incredible capability of synchronizing your macOS preferences using a++code>.macos++/code> file. This means that you can effortlessly restore your familiar system settings, application preferences, and other personalizations to your new Mac with a single script. Whether it's fine-tuning your keyboard shortcuts, adjusting trackpad sensitivity, or enabling dark mode, you can reclaim your previous configuration swiftly.
One of the key methods I employ to synchronize my dotfiles across different machines is by using the power of GitHub. By storing my dotfiles in a dedicated GitHub repository, I can effortlessly retrieve them from any computer, ensuring consistency across my development environments. Let's dive into the process and see how it's done.
To begin, I organize my dotfiles in a folder named ++code>.dotfiles++/code> within my home (++code>$HOME++/code>) directory. This folder acts as a centralized location for storing all my configuration files, such as ++code>.zshrc++/code>, ++code>.gitconfig++/code>, and others. Instead of directly placing these dotfiles in their respective locations, I create symbolic links to them. This approach ensures that I don't disrupt the existing file structure or inadvertently overwrite any important configurations.
For instance, I use the following command to create a symbolic link for my ++code>.zshrc++/code> file:
By establishing these symbolic links, I can access and update my dotfiles within the ++code>.dotfiles++/code> folder while seamlessly incorporating them into the appropriate locations on each machine. This methodology allows me to maintain a consistent configuration across multiple Macs.
Furthermore, it's worth noting that I don't prefix my dotfiles with a dot within the ++code>.dotfiles++/code> folder. Instead, I add the dot only when creating the symbolic link. This ensures clarity and simplicity when working with the dotfiles directly within the repository.
In addition to managing my dotfiles in my ++code>.dotfiles++/code> folder, I also utilize a powerful method to quickly install all my essential applications and programs. For that, I use ++code>Homebrew++/code>, a package manager for macOS, and use a file called ++code>Brewfile++/code> within my dotfiles repository. Let's explore how this approach simplifies the installation process.
What I discovered is that ++code>Homebrew++/code> not only makes it easy to install programs like ++code>openssl++/code>, ++code>pyenv++/code>, or ++code>direnv++/code>, but it also enables the installation of various GUI applications such as Figma, Slack, Visual Studio Code, and many others. To install GUI applications using ++code>Homebrew++/code>, I use the extension ++code>[Cask]++/code>. Rather than using the ++code>brew install --cask install my_app++/code> command, I add the source of formulae (name of a package for ++code>Homebrew++/code>) from the ++code>Cask++/code> project to my ++code>Homebrew++/code> installation writing ++code>tap homebrew/cask++/code> into my ++code>Brewfile++/code>. This allows me to install applications simply by using the ++code>brew install my_app++/code> command.
For example, within my ++code>Brewfile++/code>, I might include lines like:
By including these lines in my ++code>Brewfile++/code>, I can easily install these applications with a single command.
This approach ensures that I can quickly set up my preferred software stack on a new machine, saving valuable time and effort.
Moreover, to install applications from the App Store directly from the terminal, I rely on an handy CLI called ++code>[mas]++/code>. And guess what, to install ++code>mas++/code> I need to use ++code>Homebrew++/code> 😳. ++code>mas++/code> enables me to easily install apps sourced from the App Store using simple command-line instructions.
With ++code>mas++/code>, I can automate the installation of my favorite applications from the App Store, making the setup process even more seamless.
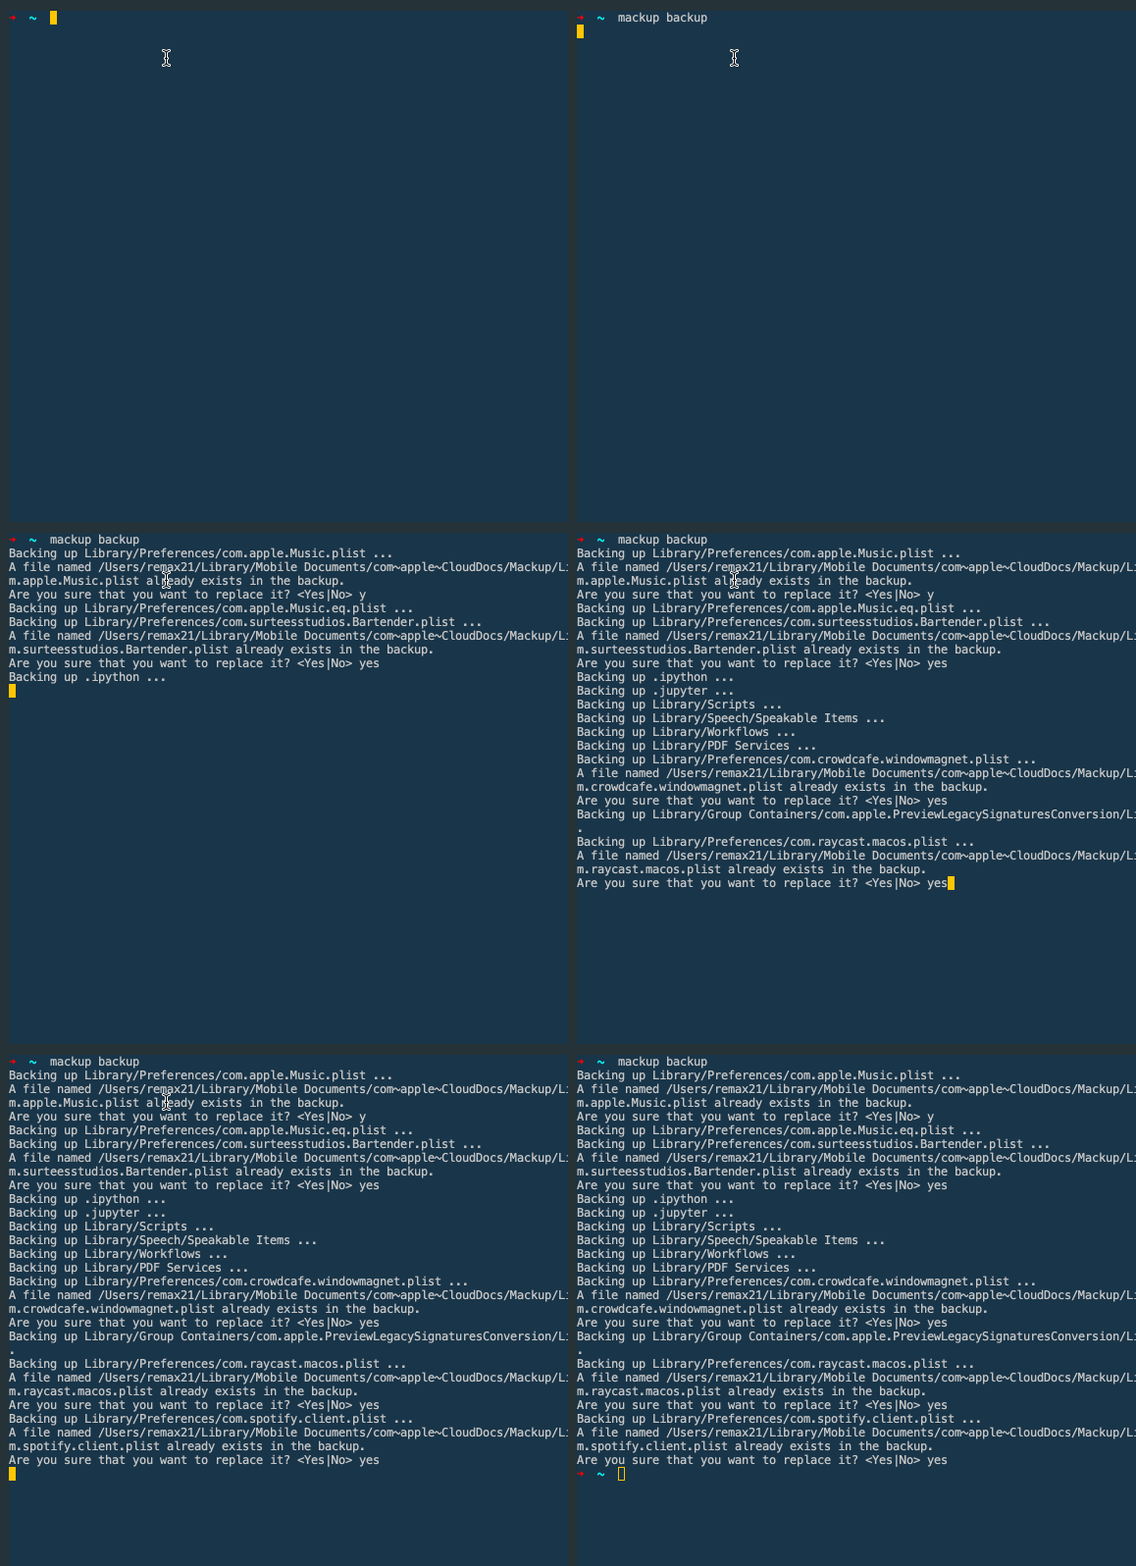
While we've seen how ++code>Homebrew++/code> can install applications on different Macs, it doesn't automatically handle the synchronization of application settings across those machines. To tackle this issue, there's a tool that comes to our rescue: ++code>[Mackup]++/code>. This ingenious utility enables us to synchronize the settings of various applications, ensuring a consistent experience across all our devices.
With ++code>Mackup++/code>, it's like having a personal assistant dedicated to preserving your application settings. Whether it's customizing your code editor or tweaking your favorite browser, ++code>Mackup++/code> takes care of capturing and restoring those precious configurations. No more fumbling around with manual backups or hunting for specific settings on each Mac. And it’s really easy to use:

To harness the magic of ++code>Mackup++/code>, it provides multiple storage options for your application settings. Personally, I prefer the enchanting powers of iCloud. By adding a ++code>mackup.cfg++/code> file to your dotfiles repository and including the following command:
you can select iCloud as your cloud of choice to safeguard your cherished application settings.
We've explored how dotfiles and application settings can be synchronized effortlessly, but what about the system settings on your Mac? There is a way to preserve and synchronize those too. Create the powerful ++code>.macos++/code> file, nestled within your dotfiles repository, where you can store all the system settings you wish to synchronize on your next machine.
Within this ++code>.macos++/code> file, you can specify various preferences, ranging from trackpad sensitivity to keyboard shortcuts, enabling you to effortlessly replicate your familiar macOS environment.
For example, let's say you want to increase the sensitivity of your trackpad, you can tap the following command:
To execute the commands in your ++code>.macos++/code> file, simply open Terminal, navigate to your dotfiles directory, and run the following command: ++code>source ./macos++/code> This will apply the specified settings and instantly recreate your desired macOS environment.
If you want more info about how to use the ++code>defaults++/code> command, you can check this article.
In addition to synchronizing macOS system settings, I also rely on a collection of practical aliases and commands that significantly enhance my productivity. Here are a few examples:
1. To manage different Git configurations for work and personal projects, I added the following line to my ++code>gitconfig++/code> file:
This allows me to have a separate ++code>gitconfig-work++/code> file where I can specify different settings, such as a different SSH key based on the repository path.
2. I have an alias for deleting merged Git branches, which comes in handy:

This command retrieves the default branch name and then deletes all merged branches, except for the default branch itself.
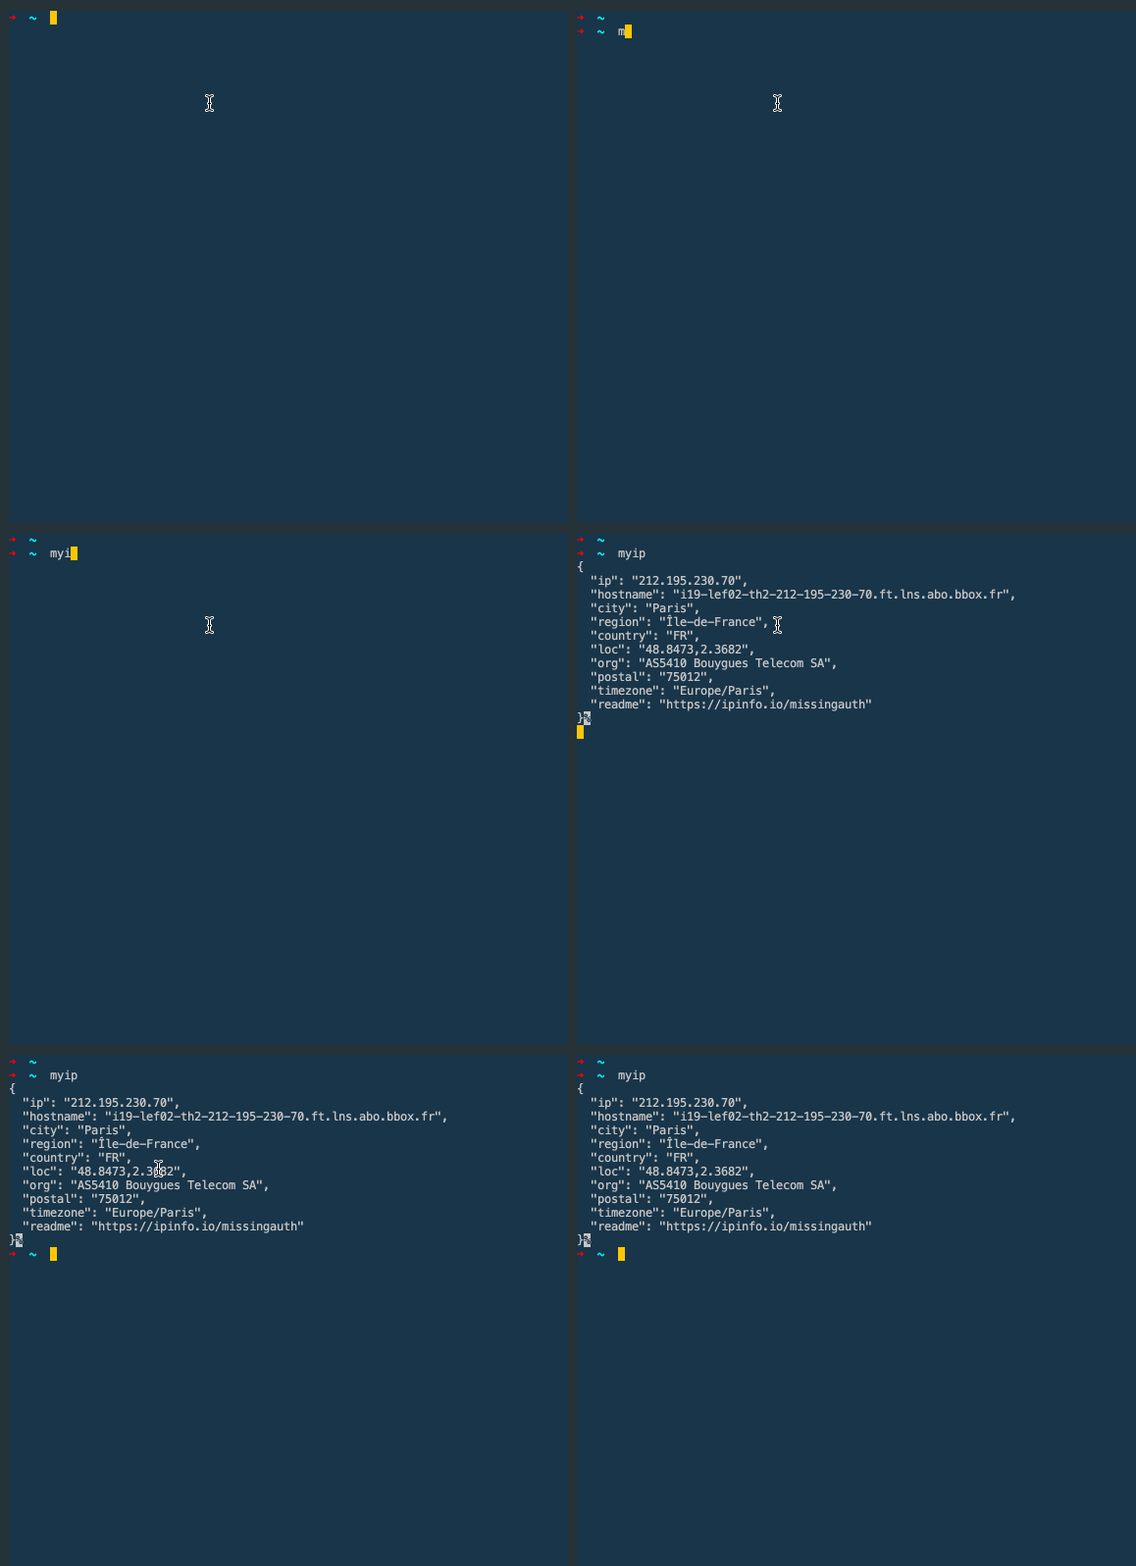
3. I use an alias to quickly get my public IP address:

Running ++code>myip++/code> command fetches the JSON response containing my public IP address from ipinfo.io.
Feel free to try these shortcuts out and see if they improve your experience as well!
Now, as we come to the end of this article, I invite you to explore my personal GitHub repository with all my dotfiles. Feel free to browse, clone, and adapt the contents to match your preferences.
Within my dotfiles repository, you'll find a very useful little bash script called ++code>install.sh++/code>. This script acts as a wizard, automating the configuration process for a new machine. By running ++code>install.sh++/code>, you can say goodbye to manual setup steps and enjoy a swift and hassle-free initialization of your development environment.
With that, we conclude our journey through the realm of dotfiles, synchronization, and macOS configuration. May your dotfiles always be organized, your applications harmoniously aligned, and your development environment tailored to perfection.
Happy coding!!!
