


Adresse
1 rue de Saint-Petersbourg75008 Paris
Mail
contact@bam.techTéléphone
+33 (0)1 53 24 00 83Sometimes when you navigate on your browser, some things are not working as you want them to. It can be a bug, or just that the webpage you are currently viewing was not conceived for your use case. The problem can be whatever you will think of: dark mode, new features, accessibility, customization,... Here, you have multiple options:
I found myself having this situation recently at work. My company usually uses the plugin Scrummer Theodo in Trello to display some useful information in Trello. Each card in Trello has an estimated card point, that represents the difficulty of the card. The more points, the longer it will take to do the ticket. We add those points in the title of the card. Then the plugin displays it better with CSS, and add a sum of all points on top of each columns.
But I recently changed project, and I switched from Trello to Azure DevOps, developed by Microsoft. ADO has a way to add "sizes" to tickets, a way to represent the time a ticket will take to be done. But we found no ways to add the sum of all tickets of a column on top of each column. After several painful weeks of work, I took some time to create the equivalent of Scrummer Theodo for ADO, with the help of a coworker. You can find the result here.
In this article, you will learn basics about how to develop your plugin for chrome. You will see how to test your basic plugin, make it do some cool stuff and then publish it to the chrome store if you want to share it with the world ?. We will not cover other browsers in this article.
You will need very few tools to develop a chrome extension. You will obviously need chrome, but you will also need an editor to write your code. You can use any editor, like Sublime Text, Notepad++ or Visual Studio Code. I will personally use the last one, but use the one you prefer. And that's it! You're good to go! Nothing more to install. You will write HTML, CSS, javascript and JSON files, so you can add some plugins to help you with the syntax.
Now that you have all the tools in hand, let's setup a basic project. Every chrome plugin needs a Manifest. This file tells Chrome basic informations about your plugin: its current name, version, description, permissions... It takes the shape of a file named "manifest.json" at the root of the project. So let's create one!
In that JSON, you will need to specify at least these informations :
++pre>++code>{
"name": "Name of your plugin",
"version": "1.0",
"manifest_version": 2
}++/code>++/pre>
Those 3 fields are required for your plugin to work, but many others exists. A full list of manifest fields can be found in the chrome documentation here.
Right now, we can add our plugin to chrome, but it wont do much, since we didn't tell him to do anything. We will see in the next section how to do some advanced features, but for now let's juste make a simple plugin.
In our manifest.json, put the following code:
++pre>++code>{
"name": "Name of your plugin"
"version": "1.0",
"manifest_version": 2,
"background": {
"scripts": ["background.js"]
}
}++/code>++/pre>
The first part of the manifest is not new, but as you can see, a new key ++code>"background"++/code> appeared. This gives our plugin the possibility to run javascript in background. As soon as chrome is launched, the script will launch. We specify in an array all the scripts that has to be loaded with our plugin, here ++code>"background.js"++/code>. We then need to create the script ++code>"background.js"++/code>, next to manifest.json. You can put it in a folder if you want, but do not forget to change the path of your file in the scripts array. Here is the code of background.js :
++pre>++code>console.log("Hello world!")++/code>++/pre>
I know, very impressive stuff indeed. But we have to start somewhere, right?
Now that our first plugin is ready, we will add it to chrome! Go to the chrome extensions page. You can find it by clicking on the three dots on the top right corner of google chrome browser, and then go to More tools > extensions. Or you can go to the url "chrome://extensions/".
Once you are there, you will see all the extensions you would already have added to your browser (if any). That's where you see your AdBlock plugin, you pirate! There is a toggle on the top left corner, called "Developer mode". Toggle it. You can now "Load unpacked", "pack extension" and "update". The first option is what we are looking for. Select the folder which contains your manifest.json. If the manifest is invalid, chrome will tell you what's wrong with it, but with our simple plugin it should be fine.
Our plugin is now in the list of extensions! Congrats! But where's the hello world? Nothing in the chrome dev tools? Do not panic! It's in a background page. As we used the background feature of chrome, chrome executed our script in a background environment, like an hidden page. You can see the logs of you script by clicking on the link in the extension card "background page". This opens up a DevTools window, with hopefully your "Hello world!" in it ?
As you can see, it's not very impressive, but that's still something right ? Now that we launched our very first plugin, we will want it to do something smarter that an "hello world!". Let's add some features to our plugin.
We will modify our plugin to make it change the background color of a web page's body to a random color. To do that, we will use "content script". Content scripts are used to add javascript into a web page. Our script will launch in the page, and replace the style of our page with some custom styling.
First, modify your manifest.json. You have to tell chrome which script you want to launch, and ask for the required permission, since we will modify pages. Our manifest.json now looks like this:
++pre>++code>{
"name": "Name of your plugin"
"version": "1.0",
"manifest_version": 2,
"content_scripts": [
{
"matches": ["https://google.com/*"],
"css": ["style.css"]
}
],
"permissions": ["activeTab"]
}++/code>++/pre>
As you can see here, we do not exactly launch a script, but we apply a css file. That's enough for what we want to do here for now. Now create a file "style.css" next to your "manifest.json". Put whatever css rule you want in it. I chose for this example to change the background color of google's home page : https://google.com/ . So first I need to identify what element I have to change with my css. You can right click anywhere on the page and then "inspect" the page. This opens up the chrome DevTools. You can see all of the html and css code of that page. You can modify it directly in the DevTools, to have a preview of the result.
Once I know what element I need to change the css, I can put some rules in my CSS :
++pre>++code>body {
background-color: red;
}++/code>++/pre>
Our plugin should now be ready, go to the chrome extensions page, and click on the reload button of your plugin. Go then to https://google.com/ . Nothing happened. Do not freak out! That's normal! The body already had a property background-color, which overrides ours. Replace your code by:
++pre>++code>body {
background-color: red !important;
}++/code>++/pre>
Reload plugin and then reload google, you will see this :
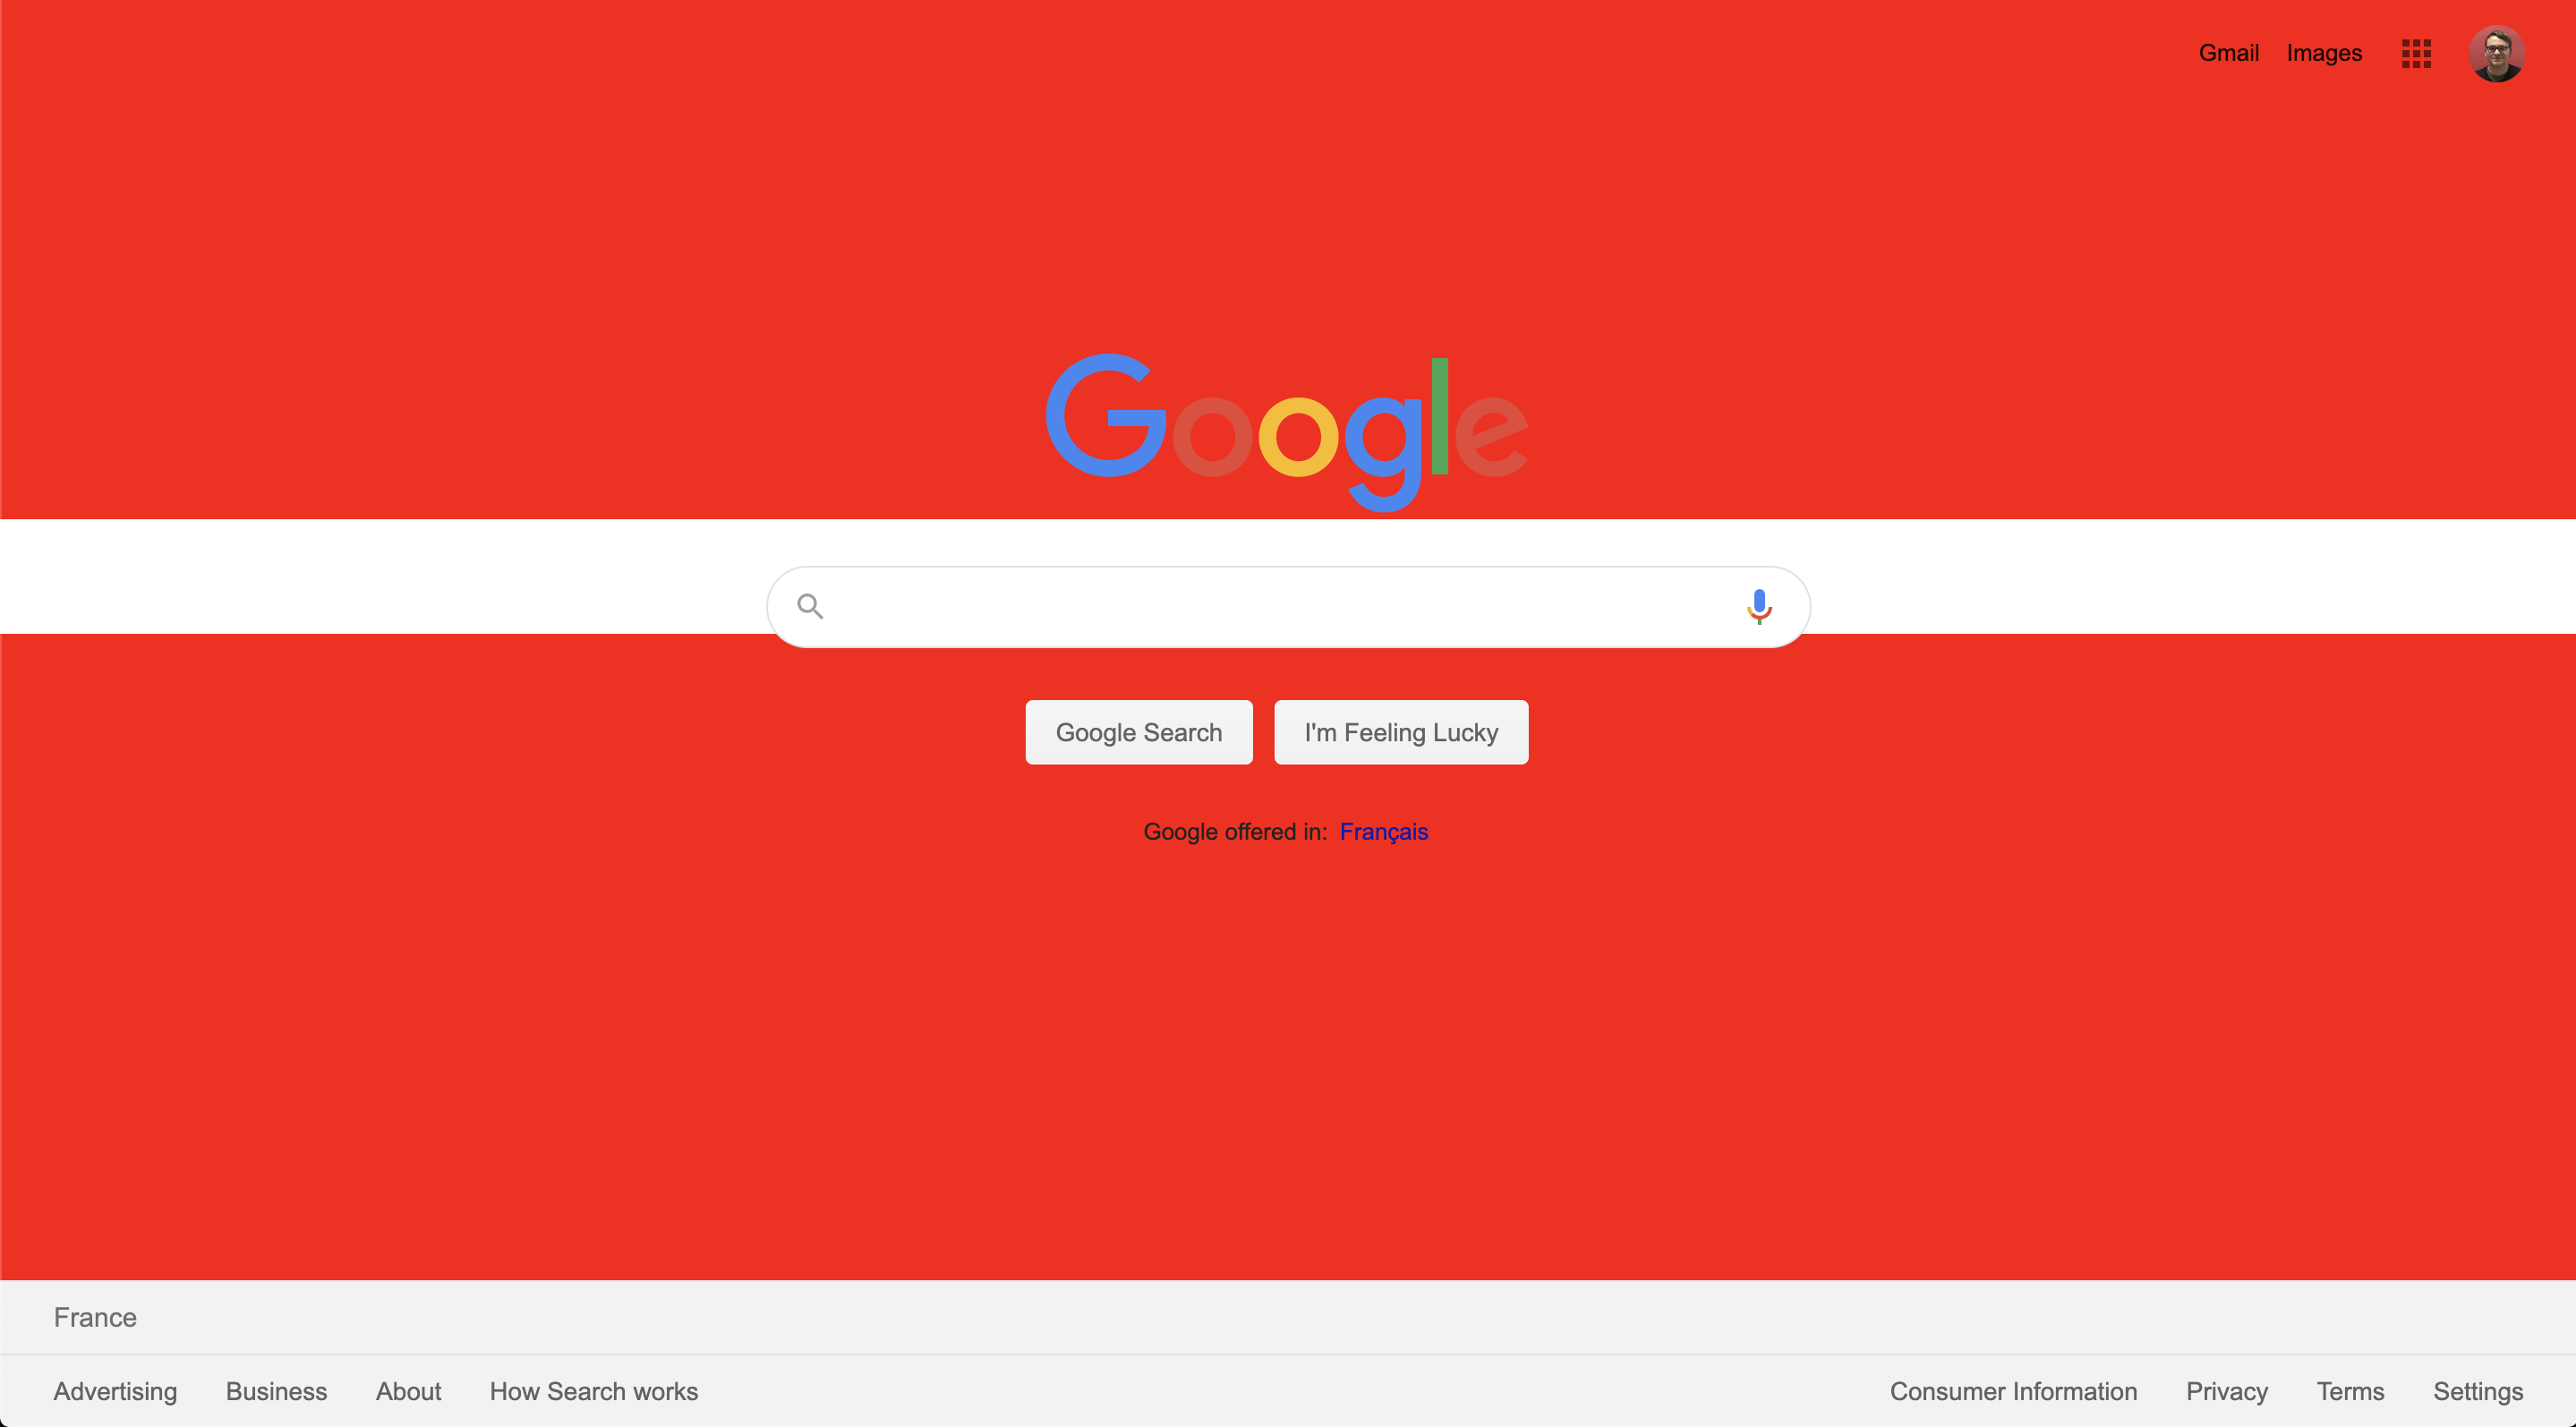
Nice ! Not perfect, but we changed most of the background ! I looked for other white elements in the page and changed them to red too. I used a lot of "!important" tags, that's enough for what we are trying to do here, but later we will use a better method. The full CSS looks like this :
++pre>++code>body {
background-color: red !important;
}
.sfbgg {
background-color: red !important;
}
#fbar {
background-color: red !important;
border-top-color: red !important;
}
#fsl {
background-color: red !important;
}
.b2hzT {
border-bottom-color: red !important;
}++/code>++/pre>
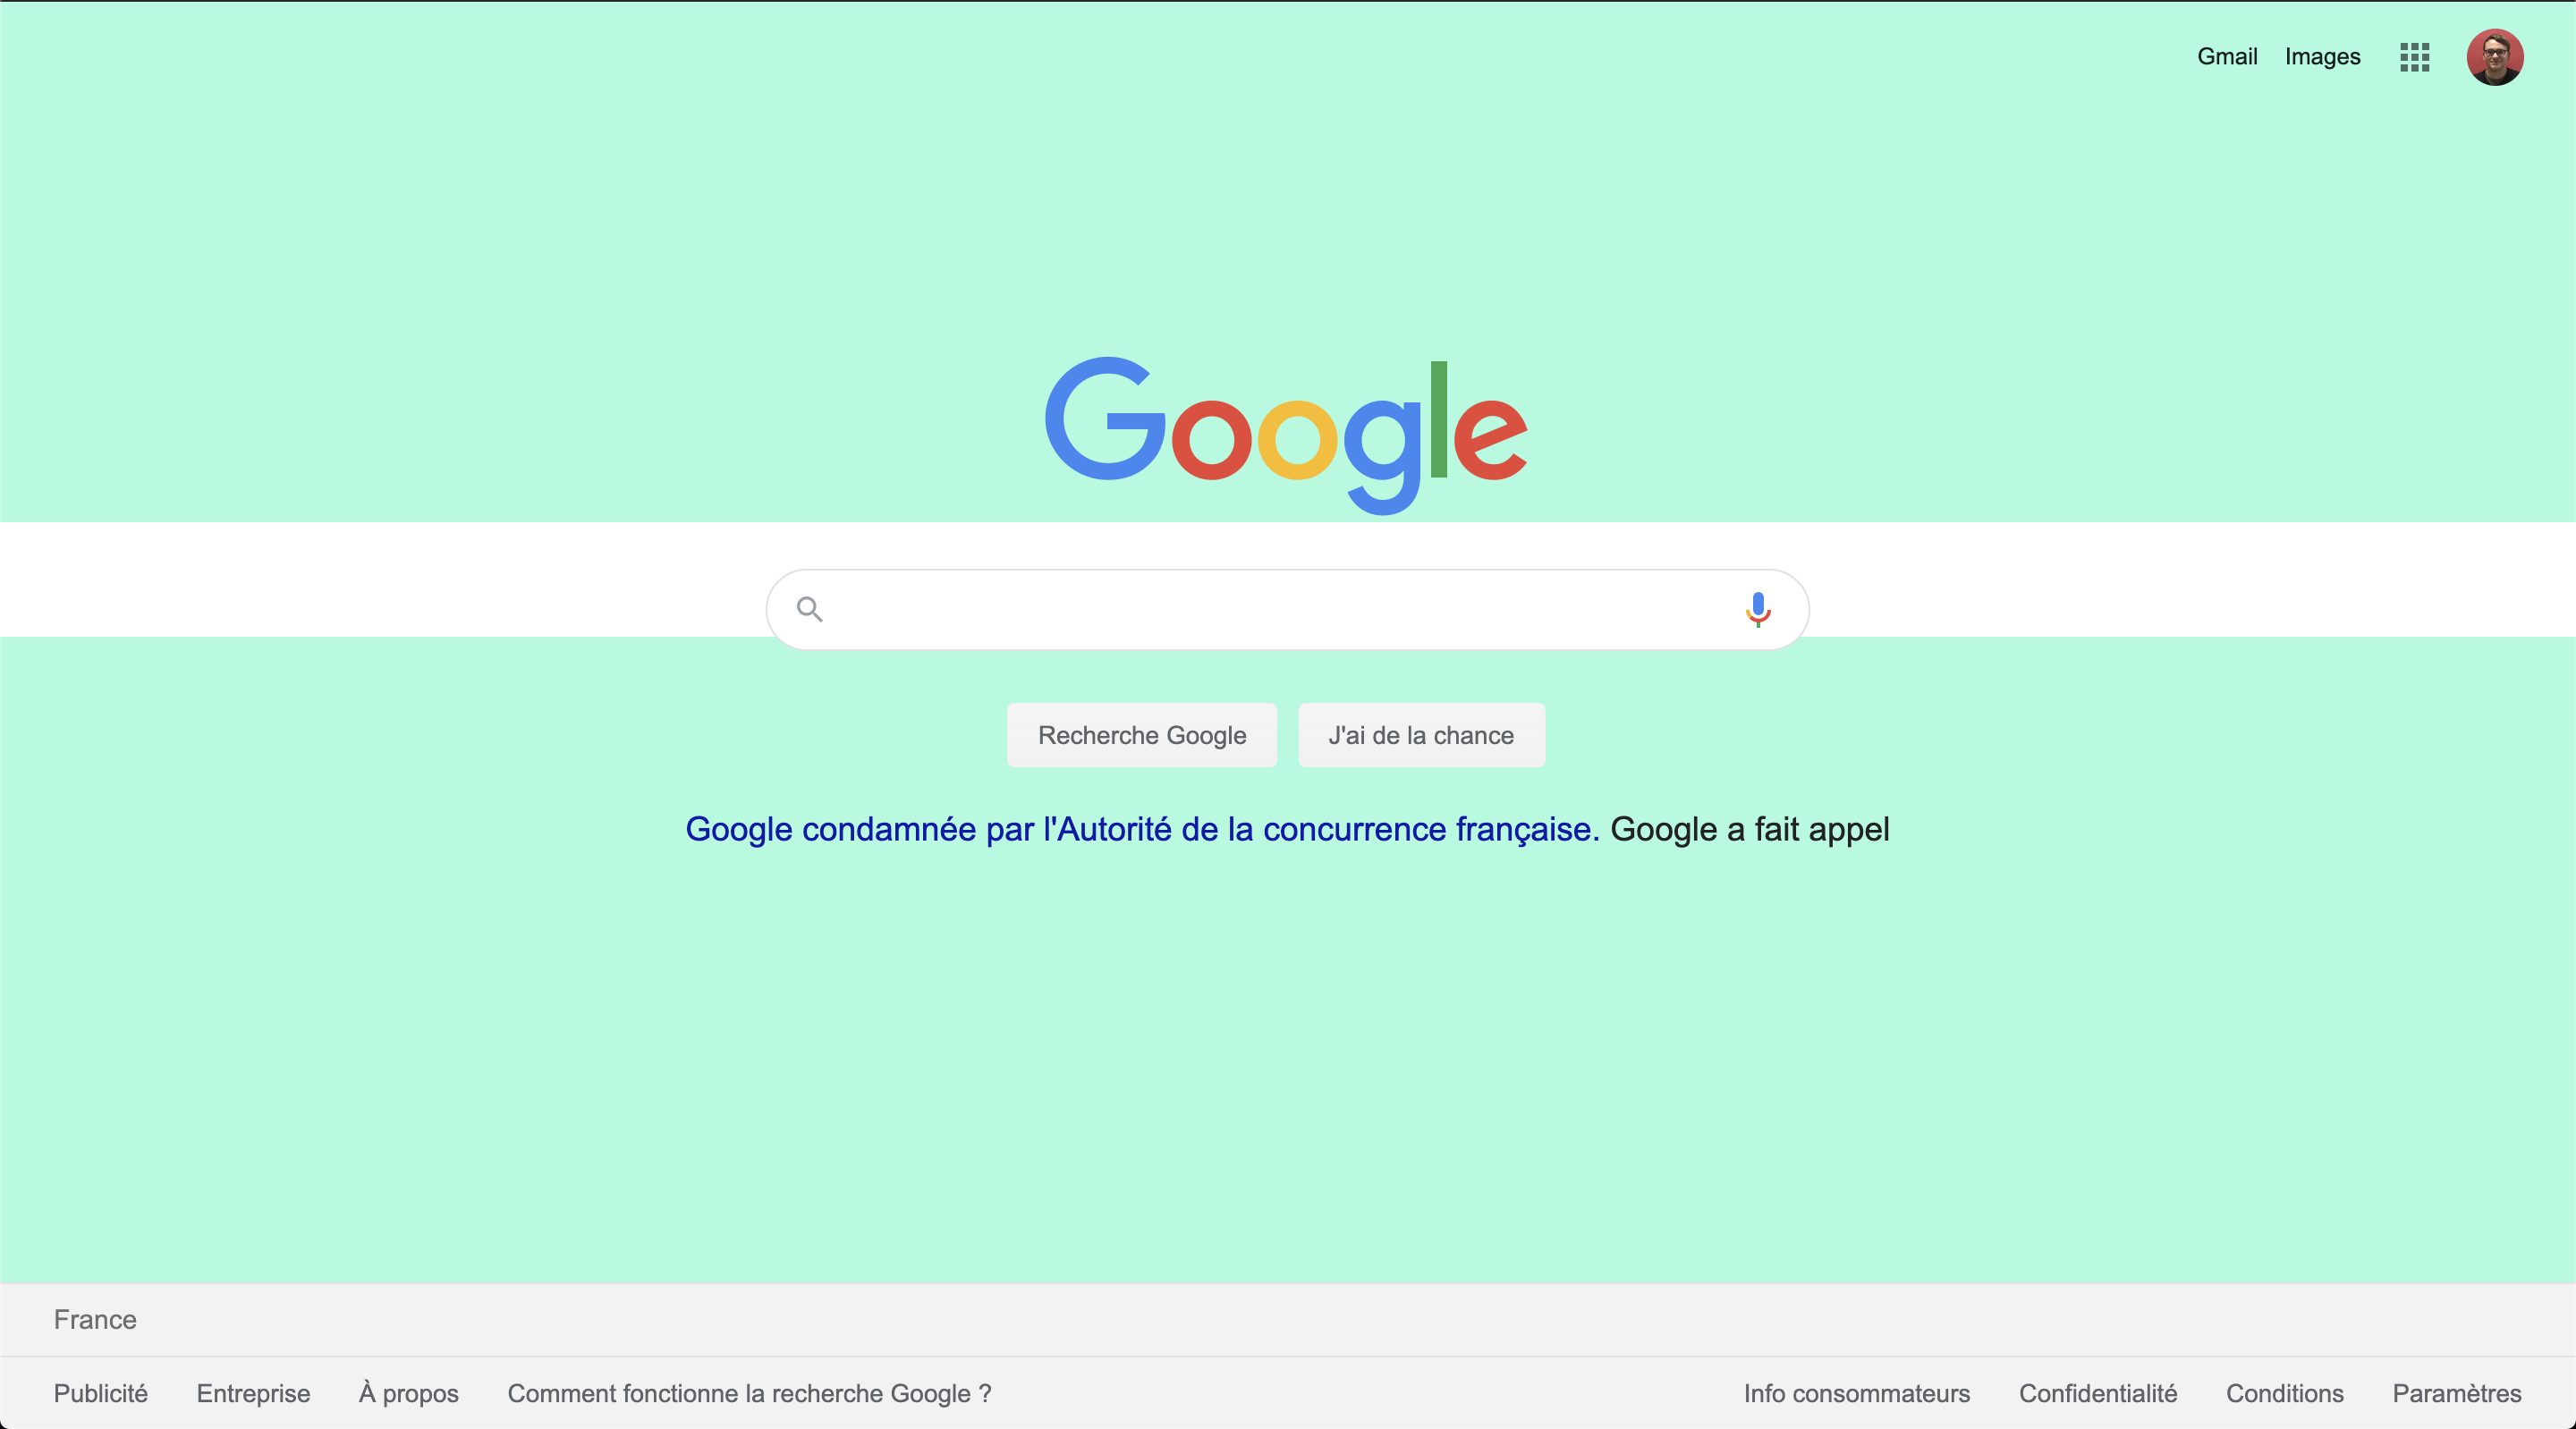
Reload plugin and then reload google, you will see this :
Well, that's what we wanted to do. But now let's complicate things a bit. We want to have a random color each time we load the page. We cannot use css anymore, we will use javascript.
Once again, modify your manifest.json :
++pre>++code>{
"name": "Name of your plugin"
"version": "1.0",
"manifest_version": 2,
"content_scripts": [
{
"matches": ["https://google.com/*"],
"run_at": "document_idle",
"js": ["script.js"]
}
],
"permissions": ["activeTab"]
}++/code>++/pre>
Here, I changed the css file to a js file called "script.js", and added run_at key. That key as 3 possible value : "document_start", "document_idle" (default), "document_end". If you specify the first one, your script will run before the page loads, the second will run your script when the page loaded, and the last one before the page is unloaded. The default behavior is "document_idle", so it's pretty useless here, but now you know how to use it ?
Put the following code in "script.js" :
++pre>++code>const letters = "0123456789ABCDEF";
let color = "#";
for(var i = 0; i < 6; i++) {
color += letters[Math.floor(Math.random() * letters.length)];
}
document.body.style.backgroundColor = color;++/code>++/pre>
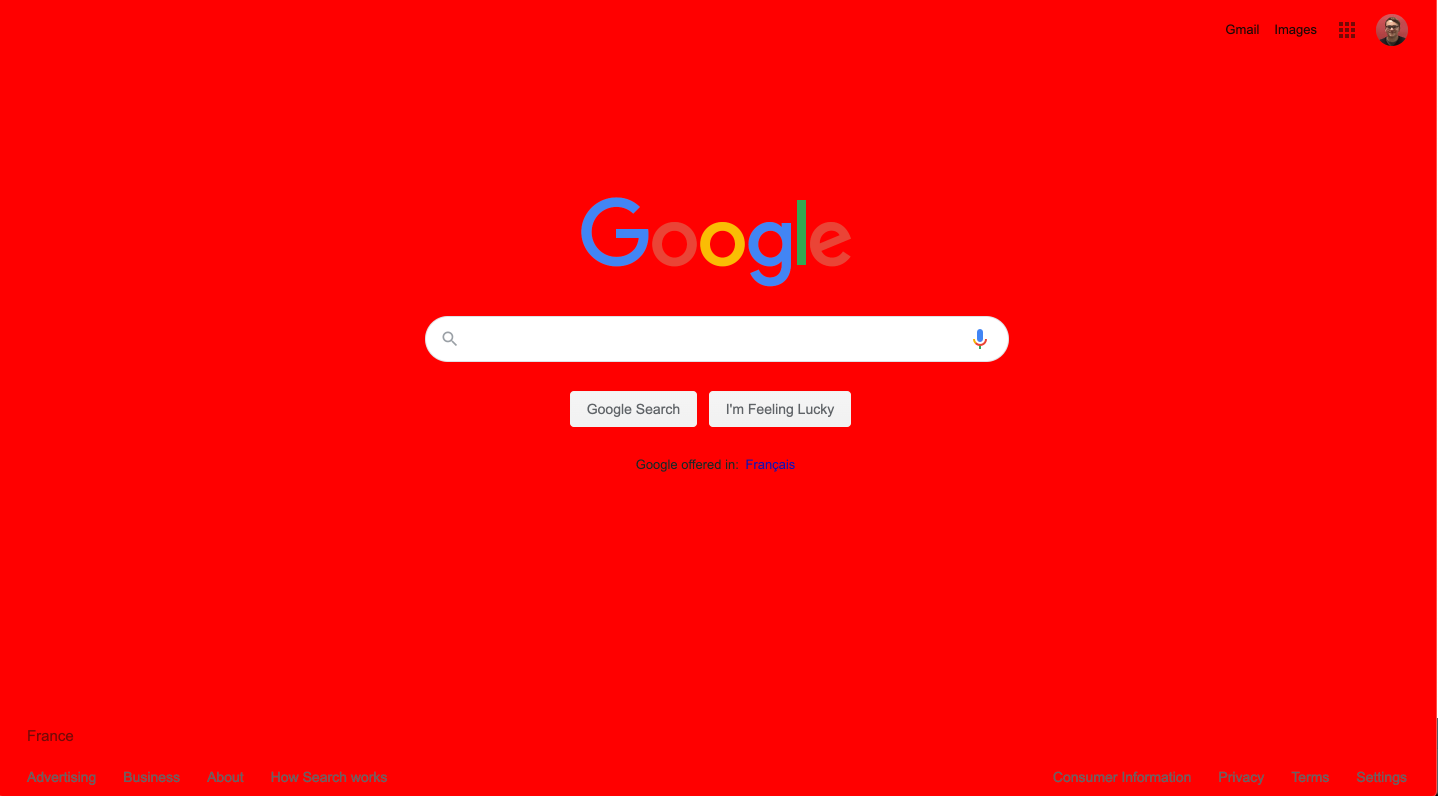
This will first generate a random hexadecimal value, the color, and set our page's body with it. Here is the result :
It works ! Try to reload the page, the color change each time. But like before, we have some unwanted white stripes. Juste like with the CSS, change other elements' color to have a unified color all over the page :
++pre>++code>const letters = "0123456789ABCDEF";
let color = "#";
for(var i = 0; i < 6; i++) {
color += letters[Math.floor(Math.random() * letters.length)];
}
document.body.style.backgroundColor = color;
document.getElementByClassName("sfbgg")[0].style.backgroundColor = color;
document.getElementById("fbar").style.backgroundColor = color;
document.getElementById("fbar").style["border-top-color"] = color;
document.getElementById("fsl").style.backgroundColor = color;
document.getElementByClassName("b2hzT")[0].style["border-bottom-color"] = color;++/code>++/pre>
That's it ! Here is the final result :
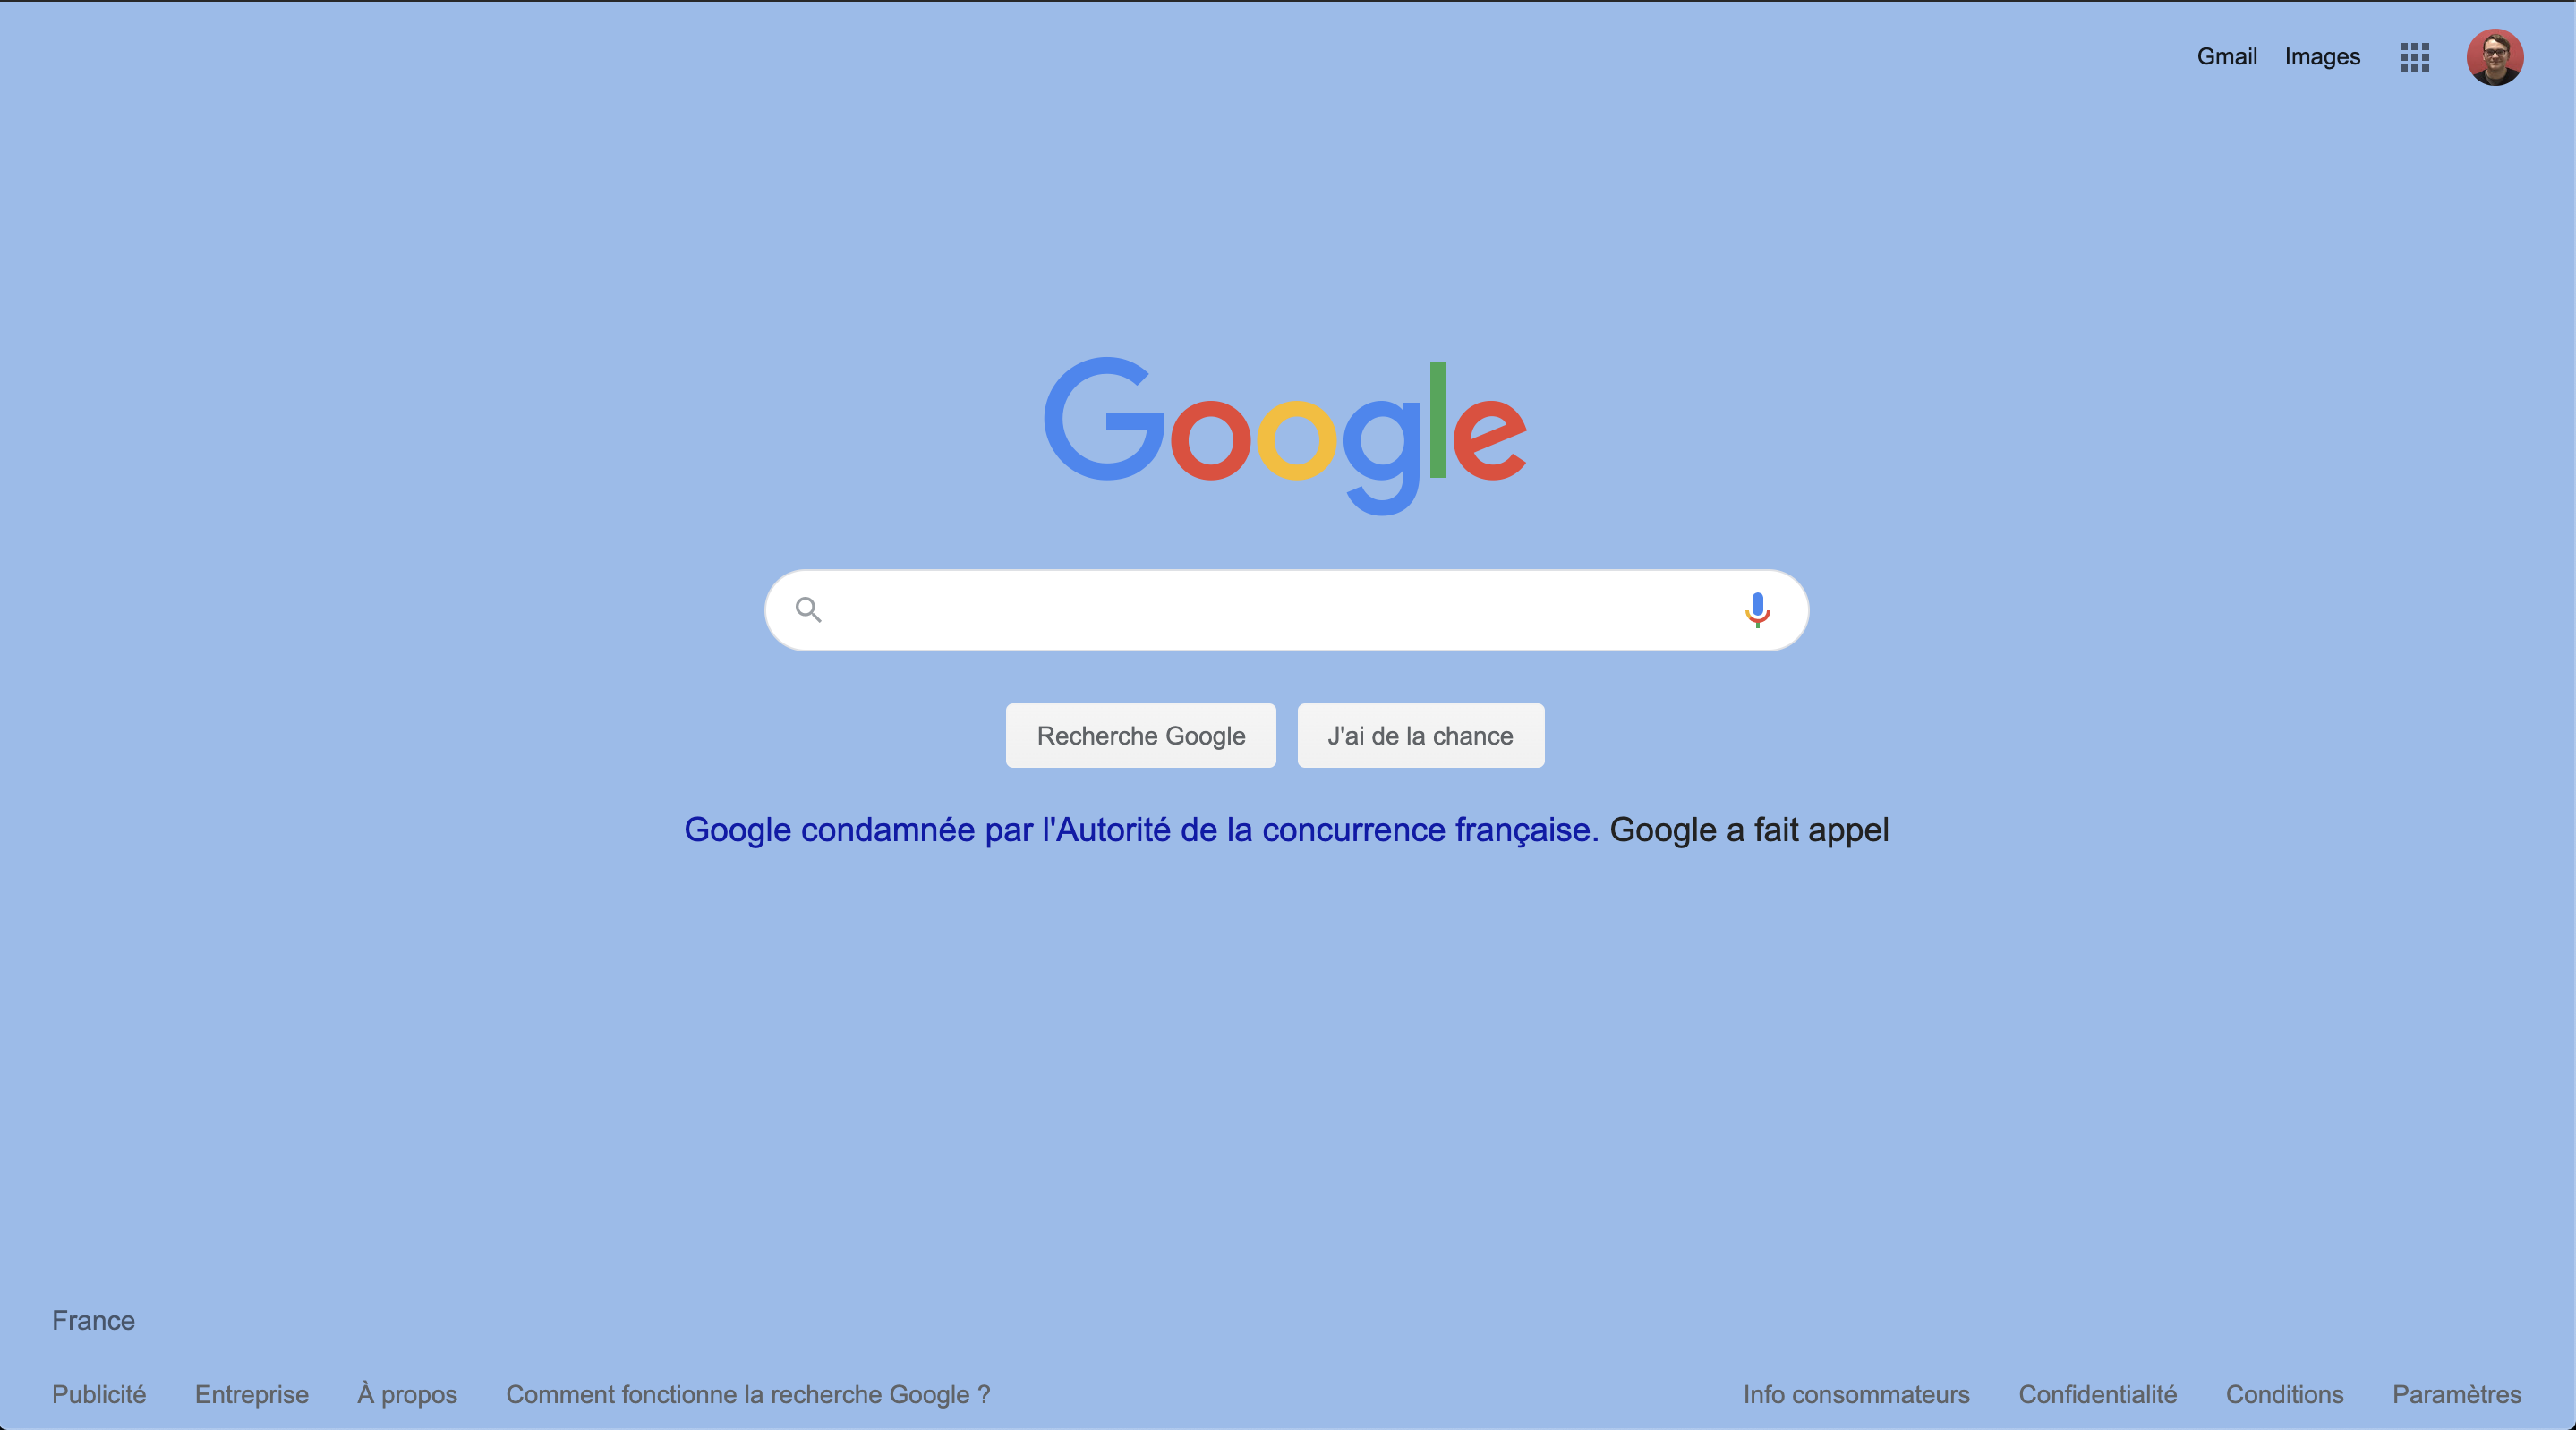
We get some weird results sometimes, for example if the background becomes red, you will not see the "o" and the "e" of "Google", but that was not the point ? You now know how to create your own chrome plugin, the rest is only a matter of javascript learning ?
Having a plugin is great, but sharing it with the world is better! Once you are okay with your plugin, you did everything like you wanted, you might want to publish it on the Chrome extension store.
Chrome requires each extension to have icons. You have to declare at least 3 icons :
So let's add them ?Add the files in a "icons" folder for example in your project, and then add the following in the manifest.json :
++pre>{
...
"icons": {
"16": "./icons/icon16.png",
"48": "./icons/icon48.png",
"128": "./icons/icon128.png"
},
...
}++/pre>
Then you have to zip your files together : the manifest, your icons, and all the files you used for your plugin.
You will need a chrome developer account, you can create it here. It cost 5$, but it will last forever, it's not a monthly cost.
Once on the developer dashboard, click on the button "Add new item" on the top right corner. It will prompt you with a modal, where you can upload your zipped plugin. If everything is alright, you will be redirected to the store listing.
The store listing is like the id card of your plugin. You must provide every field that is mandatory (*). You also need to provide informations in the "Privacy tab and Pricing and Distribution" tab
When you are done, you can save draft, and submit for review your plugin. This operation might take some time. If validated, your plugin will be available to the world! Yay :D
In this article, we managed to create our own chrome plugin, make it do some basic but cool stuff, and finally we published it on the Google Chrome Store. Making Chrome plugin should not be a problem for you anymore, but remember that making one is not always the best solution.
Thank you for your time!


Le BAM Innovation Lab, pour rester à la pointe des dernières innovations tech et produit !


